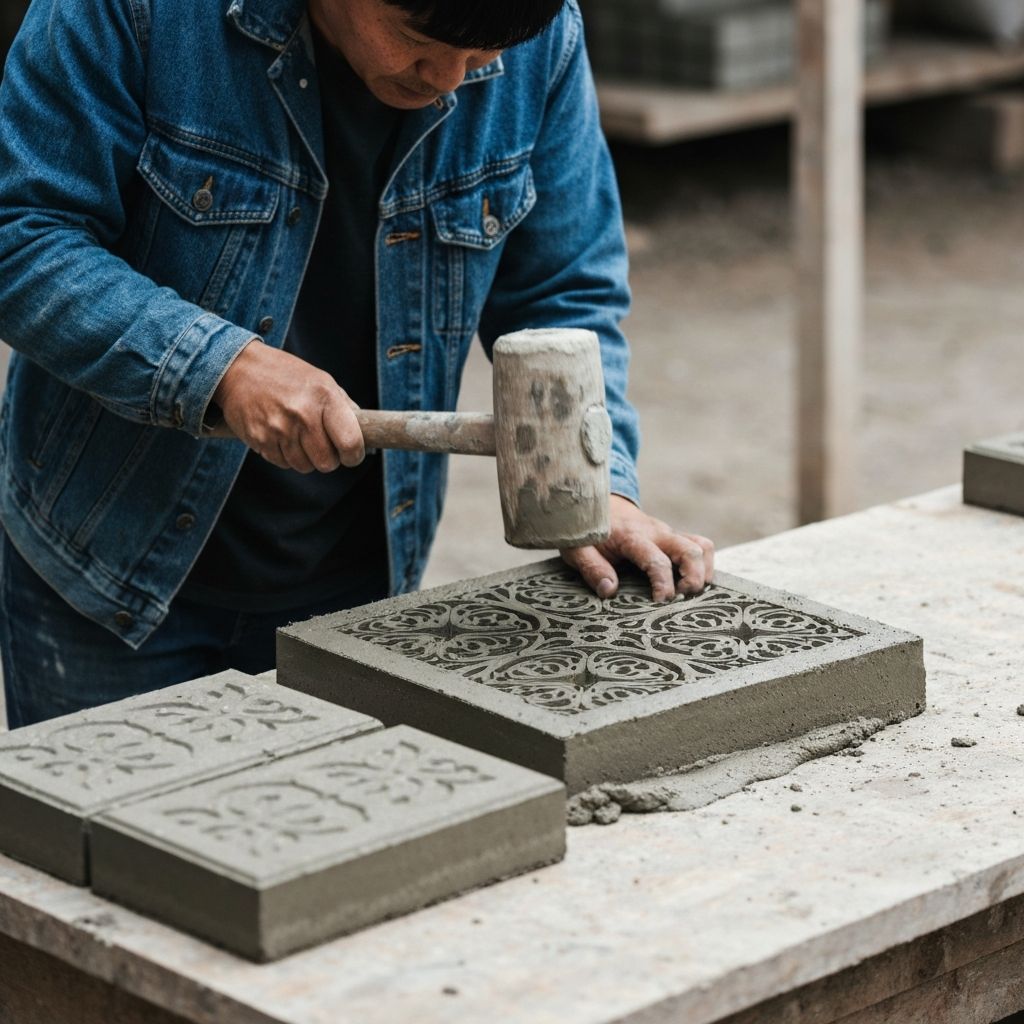
DIY Cement Pavers
Create your own decorative cement pavers for pathways and patios.
Materials & Tools Needed
Step-by-Step Instructions
Prepare Molds
Clean your paver molds thoroughly. Lightly oil the inside of the molds with a release agent (like cooking spray or mold release oil) to prevent sticking.
💡 Pro Tip
Use a good quality concrete mix designed for pavers.
Mix Concrete
Follow the manufacturer's instructions for mixing the concrete. Aim for a workable consistency, similar to thick oatmeal. Do not make it too wet.
Add Reinforcement (Optional)
For added strength, cut wire mesh or fiberglass reinforcement to fit inside the mold. Place it about halfway through the concrete pour.
Fill Molds
Pour concrete into molds, filling them to the top. Tap the sides of the molds gently to release any trapped air bubbles.
Smooth the Surface
Use a trowel or a flat piece of wood to smooth the surface of the concrete, ensuring it is level and flush with the top of the mold.
Cure the Pavers
Let the pavers cure in the molds for 24-48 hours. Keep them covered with plastic sheeting to retain moisture, which is crucial for proper curing.
💡 Pro Tip
Curing time depends on temperature and humidity. Avoid direct sunlight during curing.
Demold and Cure Further
Carefully remove the pavers from the molds. Place them on a flat surface, ideally covered with plastic, for another 5-7 days to complete the curing process before use.