Forge a Simple Hammer
Learn blacksmithing basics by forging a functional hammer from steel.
Materials & Tools Needed
Step-by-Step Instructions
Safety First
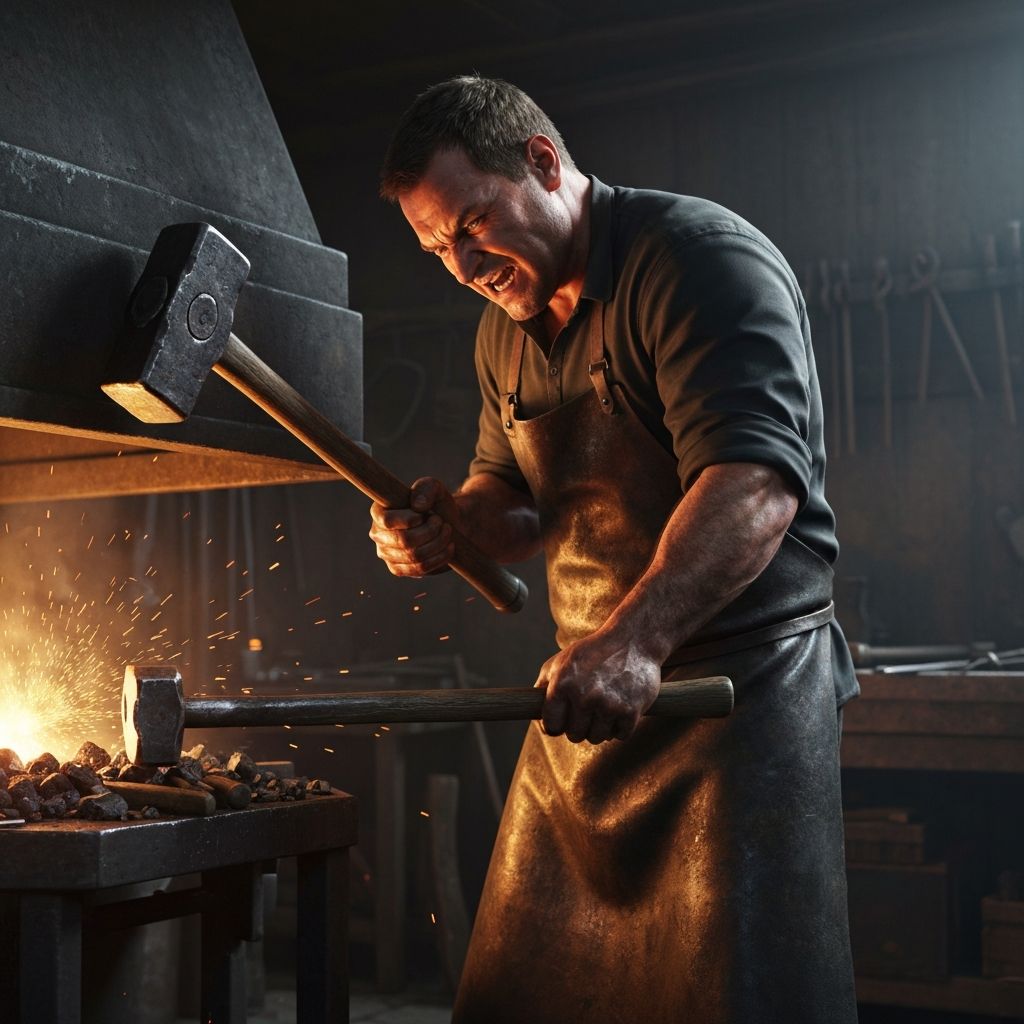
Set up proper safety equipment including leather apron, safety glasses, heat-resistant gloves, and closed-toe boots. Ensure forge area is well-ventilated and fire extinguisher nearby.
Select Steel Stock
Choose high-carbon steel bar approximately 2 inches in diameter and 6 inches long for hammer head. Tool steel like 4140 or 1045 works well.
💡 Pro Tip
Avoid mystery metal or rebar which may contain unknown alloys.
Heat the Forge
Bring forge to working temperature (bright orange, around 2000°F). Coal forges take 20-30 minutes, propane forges heat faster. Test temperature with a small piece of steel.
Initial Heating
Place steel in forge and heat to bright orange color throughout. This is forging temperature where steel becomes malleable. Avoid white-hot which causes burning.
Draw Out the Handle Eye
Using your hammer and anvil, flatten one end of the steel bar to create the section where handle eye will be punched. Reheat as needed.
Punch the Eye
Heat the flattened section to forging temperature. Use a hardy hole punch or drift to create the oval eye for the handle. Work from both sides meeting in middle.
💡 Pro Tip
The eye should be slightly oval, wider at the striking end for a secure wedged handle.
Shape the Face
Heat the opposite end and use planishing blows to create a flat, square striking face. This face should be perfectly flat and square to the handle eye.
Refine the Peen
The opposite end of the face becomes the peen. Shape into a ball peen (rounded) or cross peen (wedge-shaped) depending on intended use.
True and Smooth
Work over the entire hammer head, smoothing rough spots and ensuring faces are flat and parallel. Check alignment frequently with a straightedge.
Normalize the Steel
Heat entire hammer head to critical temperature (non-magnetic, cherry red), then let air cool slowly. This relieves internal stresses from forging.
Harden the Faces
Heat just the striking faces to critical temperature (cherry red, non-magnetic). Quench quickly in oil. The faces should now be extremely hard but brittle.
💡 Pro Tip
Only harden the working surfaces, not the entire head which could become too brittle.
Temper for Toughness
Clean scale off faces. Heat in oven or with torch to 400-500°F (straw to brown color). This reduces brittleness while maintaining hardness. Let cool slowly.
Fit the Handle
Select or turn a hardwood handle (hickory is traditional). Fit tightly into eye, trim to length, and secure with steel wedges driven from top. Sand smooth and apply linseed oil.