Weaving Your Own Fabric
Master the loom and create custom woven fabric from yarn.
Materials & Tools Needed
Step-by-Step Instructions
Choose Your Loom
Select appropriate loom for your project. Floor looms offer more control for larger projects, while table looms work well for smaller pieces and beginners.
Plan Your Pattern
Decide on weave structure (plain, twill, satin), fabric dimensions, and color pattern. Calculate the amount of warp and weft yarn needed with 10-15% extra.
💡 Pro Tip
Plain weave is strongest and best for beginners. Twill creates diagonal patterns.
Prepare the Warp
Use a warping board to measure out warp threads to precise length. Cross threads at one end to maintain order. This process requires patience and accuracy.
Thread the Loom
Attach warp to back beam and carefully spread across the width. Maintain even tension across all warp threads. This is critical for fabric quality.
Thread Heddles
Following your threading draft, pass each warp thread through the eye of a heddle in the correct shaft. This controls which threads lift during weaving.
Sley the Reed
Pull warp threads through the reed (the comb-like device) at specified density. Reed determines the closeness of warp threads and fabric width.
Tie On and Tension
Secure warp threads to front beam with even tension. Check that all threads have equal tension by running your hand across - they should feel like a harp.
💡 Pro Tip
Uneven tension causes irregular fabric and weaving problems.
Wind Weft Yarn
Wind weft yarn onto shuttles or bobbins. Have multiple shuttles ready if using different colors or types of yarn in your pattern.
Weave Header
Weave a few inches of plain weave as a header to spread and stabilize the warp. This waste yarn helps establish even spacing before your actual fabric.
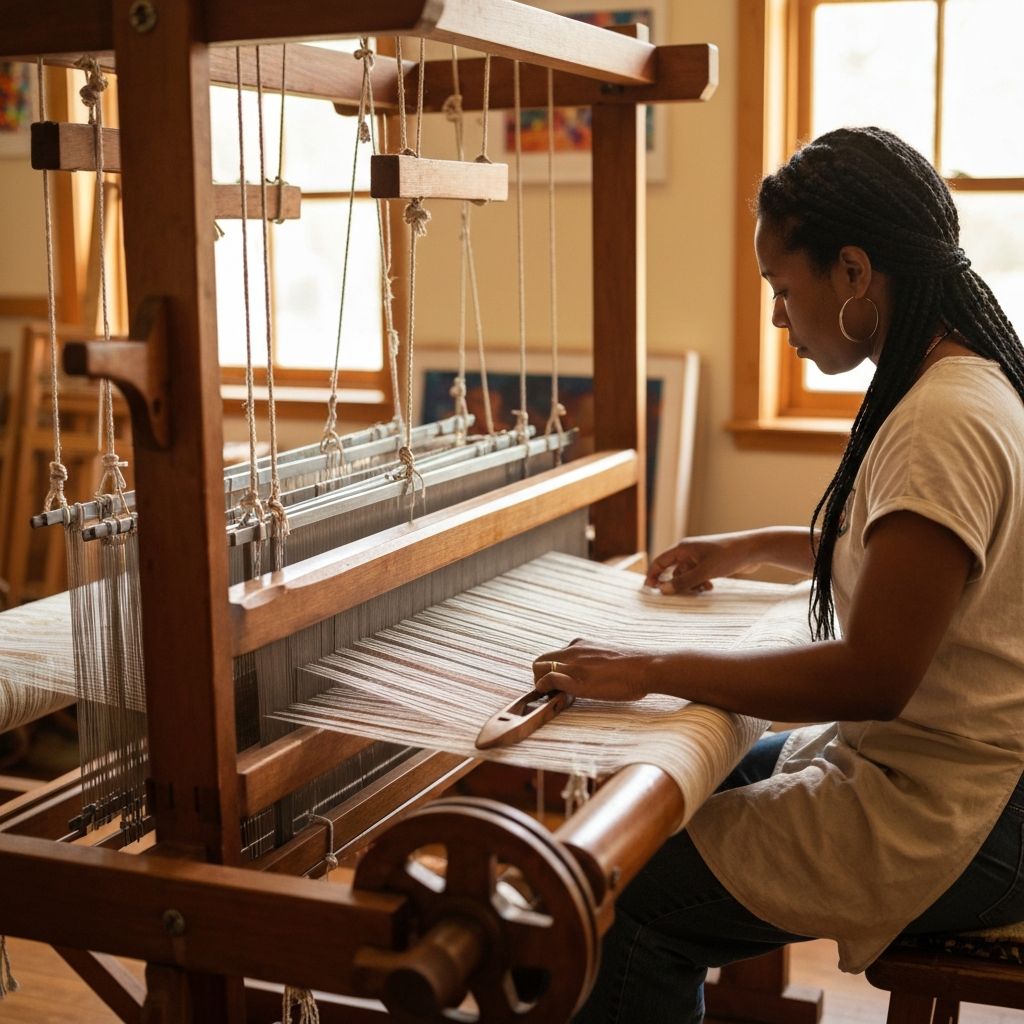
Begin Pattern Weaving
Following your treadling draft, press treadles to lift warp threads, pass shuttle through the shed, and beat yarn into place with the reed.
Maintain Selvedges
Keep edges straight by not pulling weft yarn too tight. Create small bubbles of weft before beating so fabric doesn't draw in at the sides.
💡 Pro Tip
Good selvedges are the mark of an experienced weaver.
Check Tension Regularly
As you weave, periodically check and adjust warp tension. Advance warp forward when woven fabric reaches comfortable working distance.
Monitor Pattern
Consistently check that pattern is forming correctly and measurements match plan. Fix mistakes immediately rather than letting them compound.
Finish Weaving
Complete your fabric length plus a few extra inches for fringe or hem. Weave another header section to secure the end of your piece.
Remove from Loom
Carefully cut warp threads and remove fabric from loom. Tie off warp ends in groups to prevent unraveling before finishing process.
Finish the Fabric
Wash fabric to allow yarns to bloom and full slightly. Hem or fringe edges as desired. Press with appropriate heat setting for your fiber content.