How to Make a Wooden Bookshelf
Construct a sturdy bookshelf perfect for any room in your home.
Materials & Tools Needed
Step-by-Step Instructions
Plan Bookshelf Dimensions
Decide on your bookshelf size based on available space and needs. Standard dimensions: 36 inches wide, 72 inches tall, 12 inches deep. Plan for 5-6 shelves spaced 10-12 inches apart. Taller spacing for large books, shorter for paperbacks. Sketch your design with measurements.
💡 Pro Tip
Keep shelf width under 36 inches to prevent sagging under weight of books.
Cut All Pieces to Size
Cut two side panels (vertical pieces) to full height. Cut shelves and top/bottom pieces to width minus thickness of two side panels. For 36-inch wide bookshelf with 3/4-inch sides, cut shelves 34.5 inches wide. Cut a back panel from 1/4-inch plywood to cover entire back.
Sand All Surfaces
Sand all cut pieces thoroughly, starting with 120 grit sandpaper to remove rough spots and splinters. Follow with 220 grit for smooth finish. Pay special attention to edges and end grain. Wipe dust with tack cloth or damp rag before assembly.
💡 Pro Tip
Sand with the grain direction to avoid scratches. Use a sanding block for even pressure.
Mark Shelf Positions
Lay side panels next to each other with edges aligned. Use a combination square to mark shelf positions across both panels simultaneously, ensuring perfect alignment. Mark lines at 12-inch intervals starting from bottom. Double-check all measurements before drilling.
Drill Pilot Holes
At each shelf mark, drill three evenly-spaced pilot holes through the side panel. Use a drill bit slightly smaller than your screws. This prevents wood splitting and makes screwing easier. Countersink holes slightly so screw heads sit flush with surface.
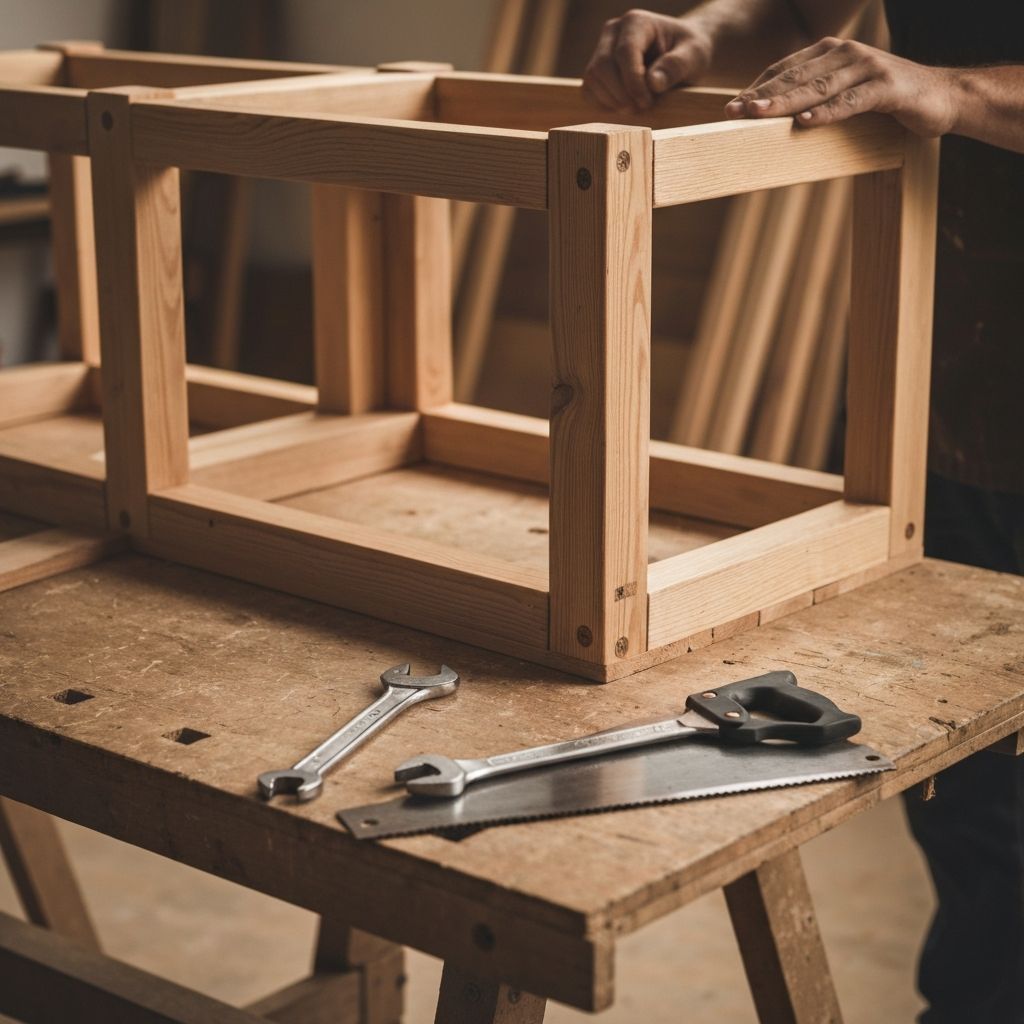
Assemble the Frame
Start by attaching bottom shelf to side panels. Apply wood glue to ends of shelf, position between sides, and drive screws through pilot holes. Add remaining shelves working upward. Use clamps to hold pieces in position while screwing. Check with level that shelves are horizontal.
💡 Pro Tip
Have someone help hold pieces in position while you screw - it makes assembly much easier.
Attach Back Panel
Measure and cut 1/4-inch plywood to cover the entire back of bookshelf. Apply wood glue around edges of back opening. Position back panel and secure with 1-inch nails or staples every 6 inches around perimeter. Back panel adds rigidity and prevents racking.
Finish and Install
Fill any visible screw holes with wood filler and sand smooth after drying. Apply your chosen finish: paint for modern look or stain for natural wood appearance. Apply 2-3 coats, sanding lightly between coats. Once dry, position bookshelf and secure to wall studs using L-brackets for safety.
💡 Pro Tip
Always anchor tall furniture to walls, especially if you have children. It prevents tip-over accidents.