How to Make a Wooden Dining Table
Build a beautiful solid wood dining table that will last generations.
Materials & Tools Needed
Step-by-Step Instructions
Select and Prepare Wood
Choose kiln-dried hardwood boards for your tabletop. For a 6-foot table, you'll need approximately 30-35 board feet. Inspect each board for defects, knots, or warping. Acclimate wood in your workspace for 48-72 hours to prevent future warping.
💡 Pro Tip
Look for boards with similar grain patterns and color for a cohesive final appearance.
Mill and Joint the Boards
Run each board through a jointer to create one perfectly flat face and one straight edge. Then use a planer to achieve uniform thickness (typically 1.5-2 inches for tabletops). Arrange boards side-by-side to find the most attractive grain pattern.
Glue Up the Tabletop
Apply wood glue evenly to board edges. Clamp boards together, alternating clamp positions above and below to prevent bowing. Use cauls (straight boards across the top) to keep surface flat. Tighten clamps gradually, checking for even pressure. Let cure for 24 hours.
💡 Pro Tip
Wipe excess glue immediately with a damp cloth - dried glue prevents stain absorption.
Flatten and Sand the Top
After glue dries, remove clamps and scrape off any remaining dried glue. Use a belt sander or hand plane to level the entire surface. Progress through sandpaper grits: start with 80 grit for leveling, then 120 grit, finishing with 220 grit for smoothness. Sand with the grain.
Cut to Final Dimensions
Mark your desired table dimensions on the glued-up top. Use a circular saw with a straight edge guide or table saw to make straight cuts. For most dining tables, aim for 36 inches wide and 72-96 inches long. Sand cut edges smooth with 120 grit paper.
💡 Pro Tip
Standard dining table height is 29-30 inches. Keep this in mind when determining leg length.
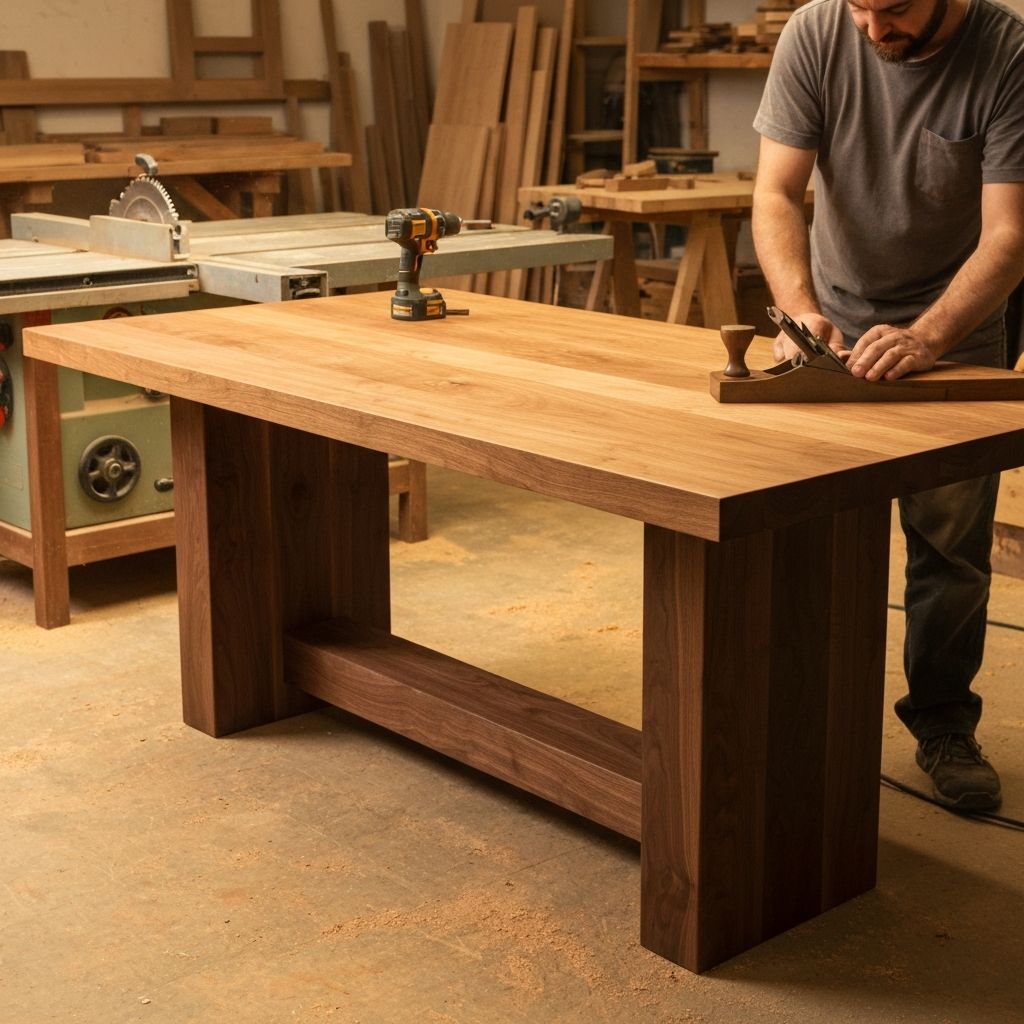
Build Table Base and Legs
Cut four legs to length (typically 28 inches for 29-inch table height after adding top thickness). Build apron frame using boards 4-6 inches wide, mitering corners at 45 degrees or using pocket hole joinery. Attach legs to apron with corner brackets or mortise and tenon joints.
Attach Apron to Legs
If using pocket holes, drill holes on inside of apron boards at 6-8 inch intervals. Apply glue to joints and secure with pocket screws. Ensure frame is perfectly square by measuring diagonals. Add corner braces for extra strength. Let assembly dry completely.
Apply Wood Finish
Wipe entire table with mineral spirits to raise grain, then sand lightly with 220 grit. Apply your chosen finish: oil-based stain for color, or Danish oil for natural look. Apply with cloth in direction of grain, let penetrate 5-10 minutes, wipe excess. Let dry per manufacturer instructions.
💡 Pro Tip
Test stain on scrap wood first to ensure you like the color. You can always go darker but can't easily lighten.
Apply Protective Topcoat
Once stain is completely dry (24-48 hours), apply polyurethane or wax topcoat. Use foam brush for polyurethane, applying thin coats and sanding lightly between coats with 320 grit. Apply 3-4 coats for durability. For wax, buff on with cloth and buff off for shine.
Attach Top to Base
Position tabletop face-down on a protected surface. Center base on underside of top. Attach using tabletop fasteners or figure-eight fasteners in slots routed into apron. These allow wood movement with seasonal humidity changes. Space fasteners 12 inches apart around perimeter. Flip table over carefully.
💡 Pro Tip
Never rigidly attach a solid wood top - it needs room to expand and contract or it will crack.