Wooden Shingles Production
Create traditional wooden shingles for roofing and siding projects.
Materials & Tools Needed
Step-by-Step Instructions
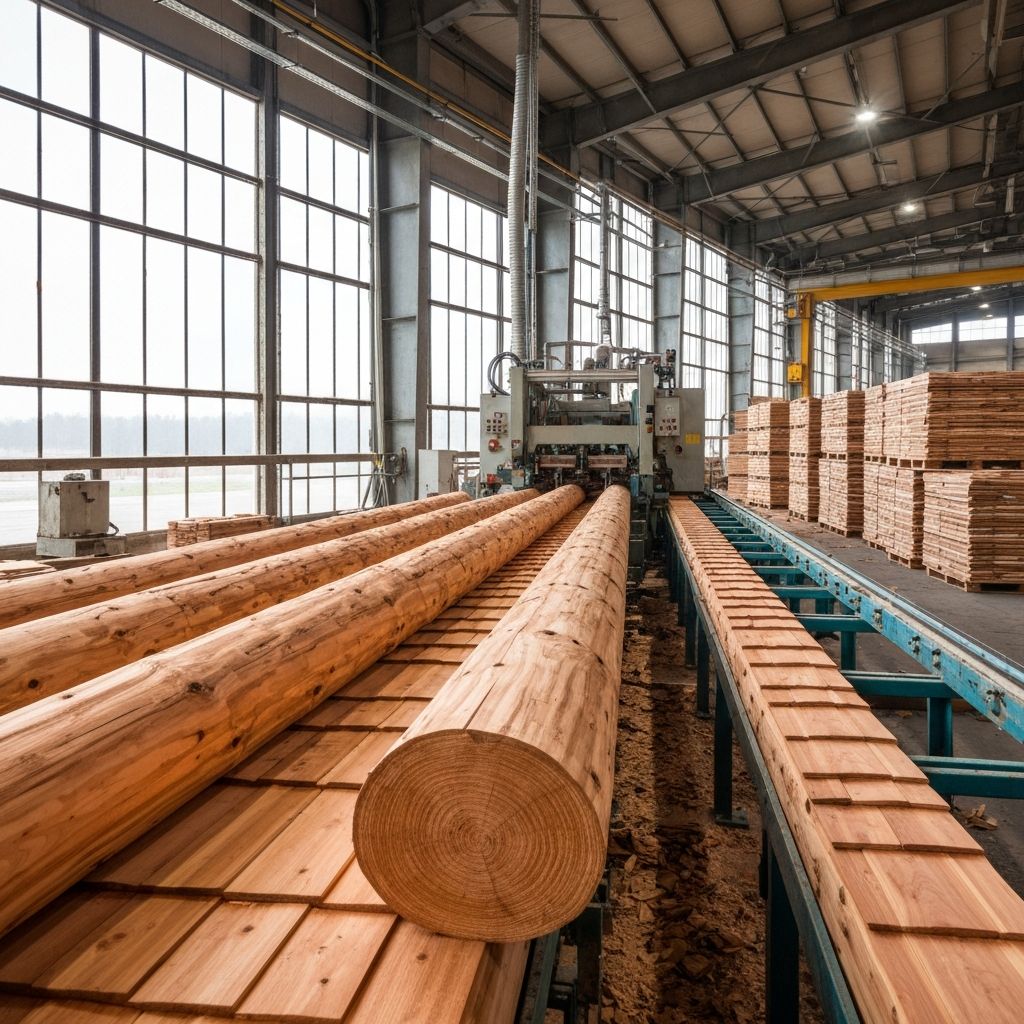
Select Cedar Logs
Choose straight-grain cedar logs 18-24 inches in length. Red or white cedar are ideal for shingles due to natural rot resistance.
Split the Log
Using a froe and mallet, split the log into quarters by following the grain. Continue splitting into progressively smaller sections.
💡 Pro Tip
Always work with the grain direction to prevent tear-out and ensure clean splits.
Create Shingle Bolts
Split sections into smaller bolts approximately 4-6 inches wide. These bolts will become individual shingles.
Rive the Shingles
Using the froe, carefully split each bolt into thin shingles about 3/8 to 1/2 inch thick at the butt end. Work slowly to maintain even thickness.
Taper the Shingles
Use a drawknife on a shaving horse to taper each shingle from thick butt to thin tip. This overlap design sheds water effectively.
💡 Pro Tip
A proper taper is thinner at the exposed end, typically 1/8 inch or less.
Smooth the Surfaces
Clean up rough surfaces with the drawknife or hand plane. The exposed face should be relatively smooth while the back can be rougher.
Trim to Size
Use a table saw or hand saw to trim shingles to uniform width (typically 3-10 inches) and ensure butts are square and even.
Apply Preservative
Dip or brush shingles with natural oil preservative or wood treatment. While cedar is naturally resistant, treatment extends lifespan significantly.
Bundle and Store
Stack shingles in bundles of 25-50 pieces, securing with twine. Store in a dry, well-ventilated area until ready for installation.